How to Design and Install a Mini Meadow
A River-Friendly Yards Guide for Homeowners
A before and after with a rain garden or mini meadow installed in a front yard.
Credit: Flows to Bay: San Mateo Countywide Water Pollution Prevention Program)
What is a Mini Meadow?
A mini meadow is just what it sounds like - a miniature meadow for your yard. They are a small depression designed to capture rainwater that flows off your roof via downspouts and sink it into the ground. In many places in the world, these features are referred to as rain gardens. But here in the Truckee Meadows, we think it’s more appropriate to call them ‘Mini Meadows’ because they mimic the natural meadows and seasonal wetlands that once covered large portions of the Reno/Sparks area.
Where Should You Install a Mini Meadow?
Before you think about installing a mini meadow, you’re going to have to do a little work investigating the conditions in your yard. Mini meadows should be located with the following things in mind:
They should be located 10’ away from the foundation of your home
They should be installed in soils with the correct drainage (download this guide on conducting a percolation test to determine this)
They should be located outside the dripline of mature trees (so you don’t have to dig up and damage tree roots)
They are best installed in the front yard because they must have an overflow that will drain away from your or anyone else’s home. Most home sites were originally graded to direct water away from your home and into the street with the storm drain system. You should still allow your mini meadow to overflow into that original drainage system, so it’s best to position it with the overflow directed toward the street in front of your home.
How Big Should it Be?
To ensure that your mini meadow is big enough to absorb the water from the area of your roof that drains into it, you’ll need to do a little math. But don’t worry - it’s pretty simple math. Just follow these 4 easy steps:
Step 1
Measure the area of your roof that flows into the downspout and round to the nearest whole number
Pro tip: You can use Google Earth to view your roof and measure the area.
Step 2
Measure the area in your yard that is sloped into the mini meadow and will carry water into it.
Pro tip: This is called the pervious area.
Take the pervious area you just calculated and multiply it by 0.1 or 10% and round it to the nearest whole number.
Step 3
Add the results from Step 1 and 2.
Step 4
Multiply the total area from Step 3 by 0.05 or 5% and round up to the nearest whole number
If you still need help and want to see another example of the math equation, see this handout: Mini Meadow Sizing Instructions
How Do I Build It?
Depending on the size you calculated, building a Mini Meadow should be a pretty simple DIY project. So don’t be intimidated. You can do this! We’ve broken it down into a few easy steps:
Step 1: You’ll just need to mark out the area you calculated for sizing your Mini Meadow with a string or pin flags.
Step 2: Call 811 (Dig Alert) to make sure your not going to hit any gas or utility lines.
Step 3: After the utilities have been marked, gather some shovels and some friends, and start digging. You’ll want to dig out the mini meadow area about 1 foot deep. Remove excess soil and try to use it somewhere else in your yard or dispose of it properly offsite.
Step 4: Loosen the soil at the bottom of the mini meadow area to a depth of 8-12”to create a nice rooting area for your plants.
Step 5: Mix in compost into the top 3” of the mini meadow area.
Step 6: Gently slope the side walls to make a large bowl shape (think bowl, not tuna can) and make sure there is a low point in the rim around the mini meadow that overflows away from your house).
Step 7: Install plants and irrigation.
Mini meadow complete!
What Plants Should I Use?
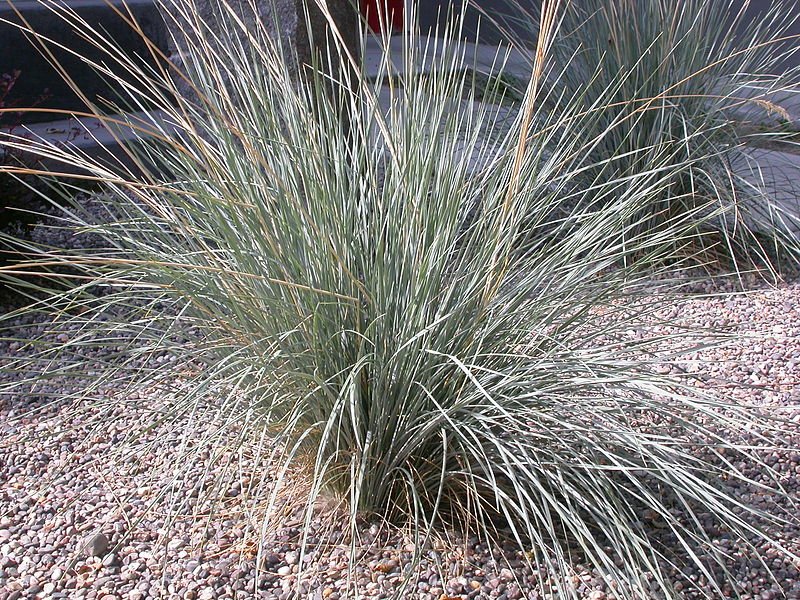
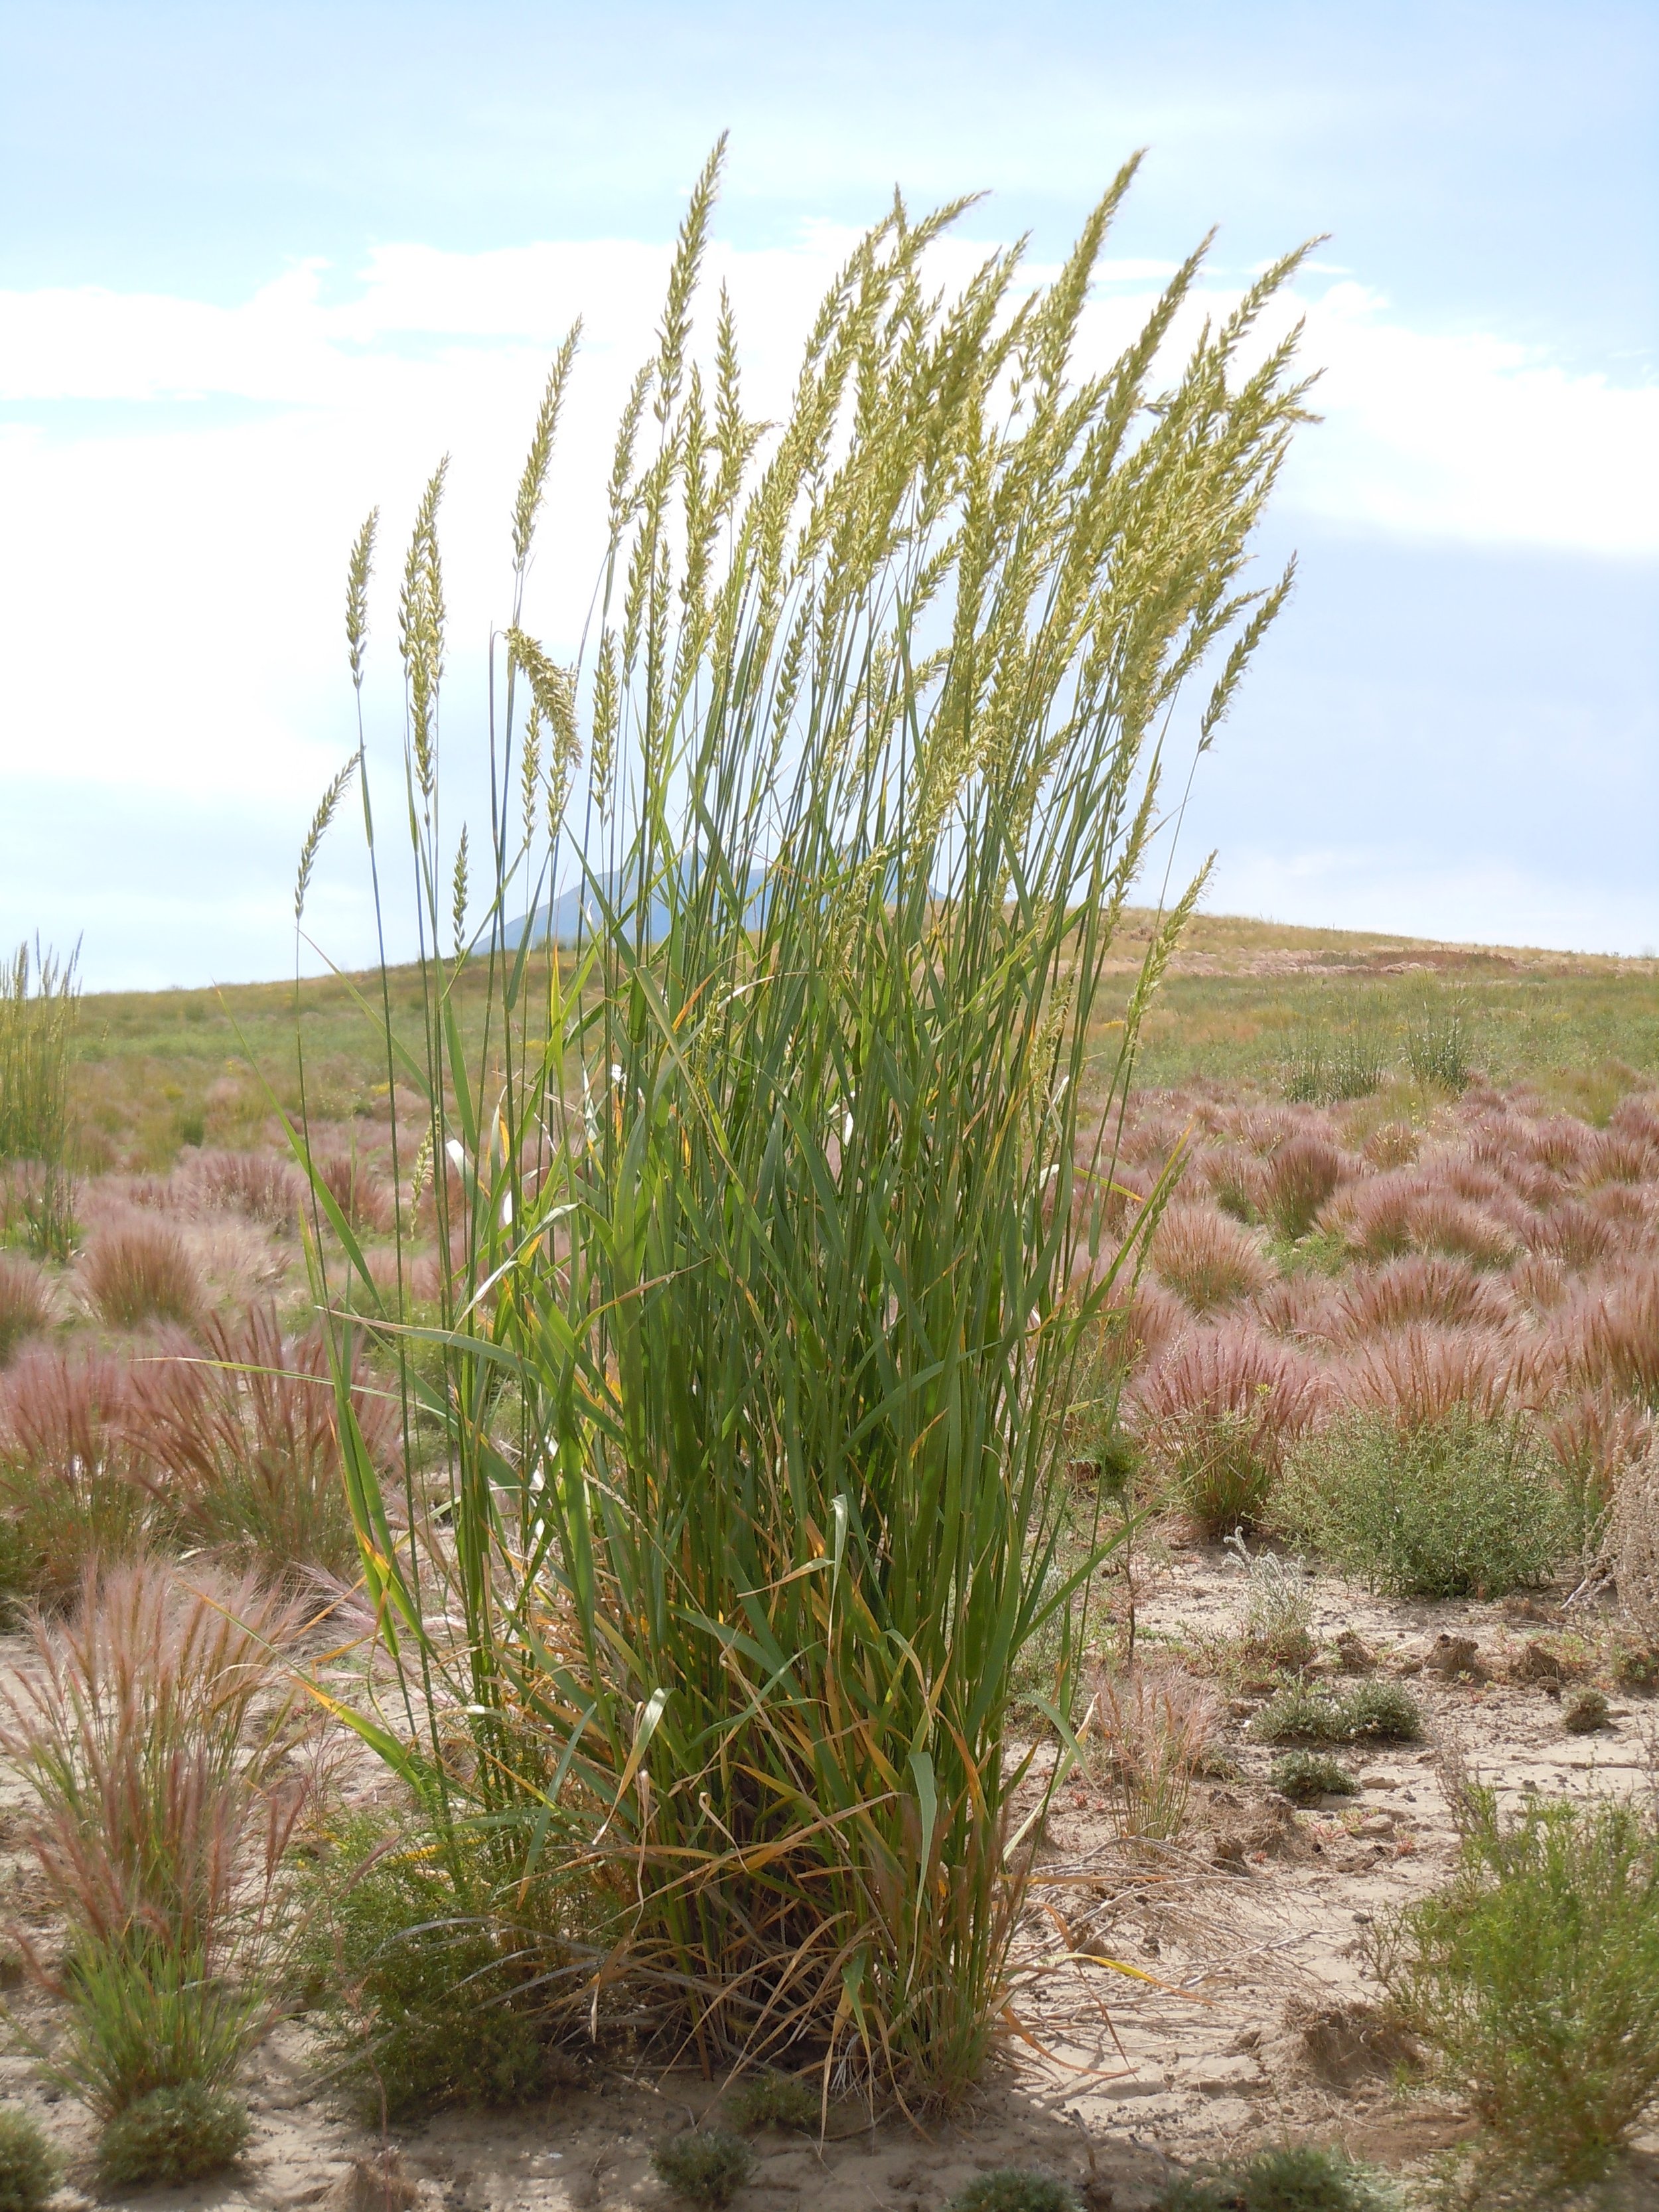
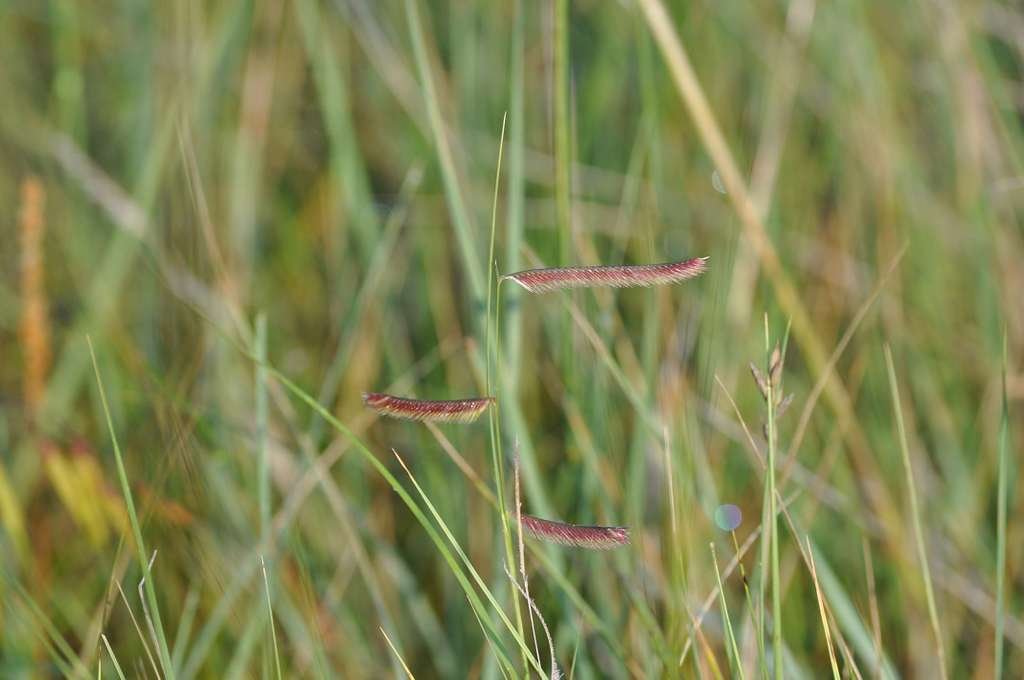
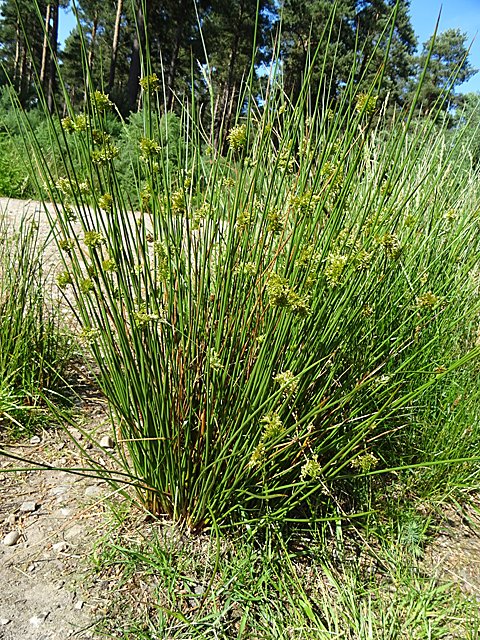
There are lots of plants to choose from for your Mini Meadow. Keep in mind that you should plant ones that tolerate high water in the bottom. The best choices for this area are meadow grasses and sedges (see photos below). The slopes will have more drought-tolerant perennials like yarrow, blanketflower, asters, and goldenrod. The upland plants can include trees and other species that blend in with the surrounding yard, such as red-twig dogwood, wild rose, spirea, and chokecherry.
Credit: Low Impact Development in Northern Nevada: Plant Materials, UNR Extension, Fact Sheet: FS-09-28.
Grasses and sedges are the best choice for the bottom of a mini meadow. Here are some examples (left to right): blue oat grass (Helictotrichon sempervirens), Great Basin wildrye (Leymus cinereus), blue grama grass (Bouteloua gracilis) and soft rush (Juncus effusus). Credit (Left to right): Matt Lavin, Matt Lavin, National Parks Gallery, and Anne Burgess.
What About Irrigation?
Mini Meadows are designed to absorb rain water, but they still need irrigation. Even native plants that are adapted to our local climate need irrigation to get established. And once established, they will look tidier and well-kept if they receive regular watering. It is best to use a drip system (learn more about the advantages of drip irrigation here), and then water them deeply at least once a week and adjust as necessary, depending on the weather and plants you choose.
Got More Questions?
Contact us via social media @onetruckeeriver
This blog is provided for informational and educational purposes only. Any information or materials provided by Urban Ecology Solutions, LLC or One Truckee River is utilized at one’s own risk, and the user expressly assumes the risk of such use. Further, Urban Ecology Solutions, LLC and One Truckee River disclaim any and all warranties whatsoever, express or implied, pertaining to the information and materials provided. In all cases, before engaging in any project, the user should consult with professional advisors who are familiar with her, his, or its particular situation and can provide specific, detailed advice unique to the user’s situation.


